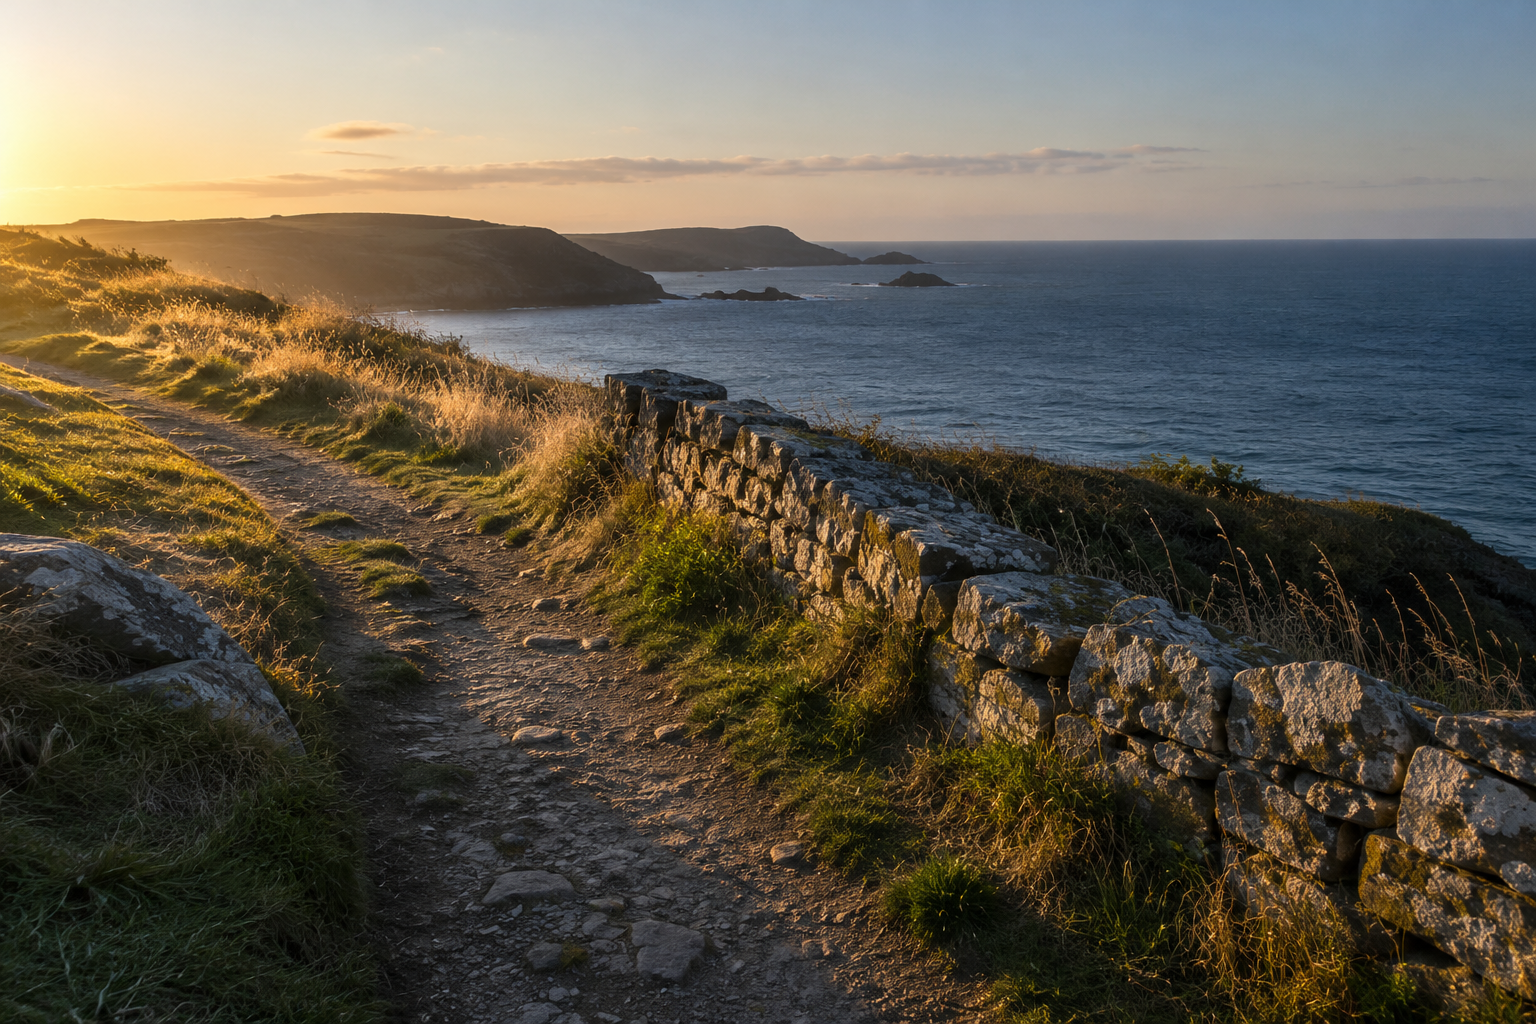
To plan an outdoor photo shoot, check where the sun will be from your shooting position on the day you intend to visit. Then check what might block it. A sunset time tells you when the sun reaches the horizon; it doesn't tell you whether your subject will still be in sunlight.
You might arrive during golden hour and find your chosen wall already in shade. A hill, a building across the street, or a few trees can end the direct light well before the listed sunset. Planning around the sun's direction helps you choose a position and a useful window of time before you leave home.
Start with the light you want
Choose the subject first: a portrait beside a wall, a tree on a ridge, or a building facing the sea. Decide which part of it you want the sunlight to reach.
For a portrait with light along the edge of the hair, place the sun behind the person relative to your camera. For texture on a stone wall, look for light crossing the surface from the side. If you want the front of a building lit, check whether that face points toward the sun at your chosen time. Nikon's photography guidance recommends trying different shooting directions and paying attention to the sun's position.
This gives you a specific question to answer on the map: where can you stand to get that light and keep the composition you want?
Check the exact position and date
Use your intended camera position rather than the name of the nearest city. Even within one location, moving to the other side of a path can change the relationship between the sun, your subject, and the background.
Set the date of the shoot. The sunrise and sunset directions change through the year, so a photograph taken at the same place in another season is a useful reference, not a promise of the same lighting.
Two measurements help describe what you'll see. Azimuth is the direction around the horizon, measured clockwise from true north: east is 90°, south 180°, and west 270°. Elevation is the sun's angle above the horizon. NOAA explains both measurements in its solar glossary. A low elevation suggests long shadows; the direction tells you which side of the subject receives the light.
You don't need to memorize the numbers. Follow the direction on a map, then picture the sunlight arriving from that side.
Look for the horizon your subject actually sees
Check the space between the sun and your subject. A west-facing slope may receive late sunlight while a nearby hollow has already fallen into shade. In a street, a building can cut off the light even with a clear sky overhead.
Maps and terrain previews help you prepare, but inspect the location when you arrive. Trees, walls, and nearby buildings can block a view that looks open in a terrain model. Leave enough time to try a second camera position before the light changes.
Turn the plan into a shooting window
Treat golden-hour times as a starting point. The useful interval for your photograph is the overlap between the light you want, a clear path to your subject, and a position you can safely reach.
For a wall portrait, that might mean shooting while low side light still reaches the stone, then moving the person a few steps when the shade arrives. For a coastal scene, you may want to stay after sunset as the sky and artificial lights change. Nikon's dusk photography guide discusses balancing the remaining daylight with artificial light.
Keep a second composition in mind for cloud cover. The sun's path can predict its position, but it cannot guarantee direct sunlight or a colorful sky.
Check the plan in SolarWatch
SolarWatch's Magic Light tile shows morning and evening photography times. Use it to choose a period to investigate, then check the direction and local obstructions.
At the location, the AR view lets you change the date and time to preview the sun's path. AR requires Gold, camera and location access, and a supported device. Enable Terrain Data Downloads in Settings for terrain information. The Shadows map offers another view of sun direction and shadows; changing its date and time requires Gold.
Before setting up, confirm that you're looking at the right date and place, that the light reaches your subject, and that you have permission to stand where you intend to shoot. Save a backup angle. That small amount of preparation gives you more time to work with the light when it arrives.